
One Updater is a potentially unwanted program that claims it updates your programs, but in reality just installs other unwanted programs, PUPs, adware, and browser extension on to the computer. This program is known to be distributed by pretending to be Flash Player updates that do not actually install Flash.
To remove One Updater Adware Bundle, follow these steps:
- Use Rkill to terminate suspicious programs.
- Uninstall programs via Windows control panel.
- Use Malwarebytes AntiMalware to Scan for Malware and Unwanted Programs
- Scan and clean your computer with Zemana AntiMalware.
- Use AdwCleaner to remove adware from a computer.
- Reset browsers back to default settings.
-
- To terminate any programs that may interfere with the removal process we must first download the Rkill program. Rkill will search your computer for active malware infections and attempt to terminate them so that they wont interfere with the removal process. To do this, please download RKill to your desktop from the following link.

DOWNLOAD When at the download page, click on the Download Now button labeled iExplore.exe. When you are prompted where to save it, please save it on your desktop.
- Once it is downloaded, double-click on the iExplore.exe icon in order to automatically attempt to stop any processes associated with Speedy SystemCare PUP and other malware. Please be patient while the program looks for various malware programs and ends them. When it has finished, the black window will automatically close and a log file will open. Please review the log file and then close so you can continue with the next step.Do not reboot your computer after running RKill as the malware programs will start again.
- As Speedy SystemCare PUP sometimes has a usable Uninstall entry that can be used to remove the program, we want to try that first. To do this, click on the Start button and then select Control Panel.
- When in the Control Panel, double-click on one of the options below depending on your version of Windows
For Windows XP double-click on the Add or Remove Programs icon.
For Windows Vista, Windows 7, Windows 8, and Windows 10 double-click on the Uninstall Program option. - When the Add or Remove Programs or the Uninstall Program screen is displayed, please scroll through the list of programs and double-click on each of the entries listed in bold below to uninstall them.
Speedy~ SystemCare
When you double-click on the above entries to uninstall them, please follow the default prompts and allow it to remove all files and all configuration information related to this program. If any of the programs ask you to reboot your computer, do not allow it to reboot until you have uninstalled all of the programs listed above.
- When you are done, you can close the Control Panel screens.
- At this point you should download Malwarebytes Anti-Malware, or MBAM, to scan your computer for any infections, adware, or potentially unwanted programs that may be present. Please download Malwarebytes from the following location and save it to your desktop:

DOWNLOAD - Once downloaded, close all programs and Windows on your computer, including this one.
- Double-click on the icon on your desktop named mb3-setup-consumer-3.6.1.2711-1.0.519-1.0.8814.exe. This will start the installation of MBAM onto your computer.
- When the installation begins, keep following the prompts in order to continue with the installation process. Do not make any changes to default settings and when the program has finished installing, make sure you leave Launch Malwarebytes Anti-Malware checked. Then click on the Finish button. If MalwareBytes prompts you to reboot, please do not do so.
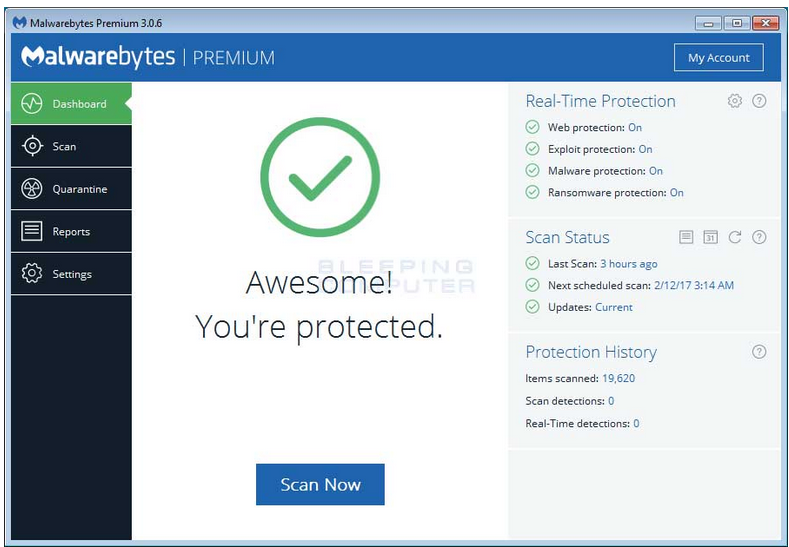
- MBAM will now start and you will be at the main screen as shown below.
- We now need to enable rootkit scanning to detect the largest amount of malware and unwanted programs that is possible with MalwareBytes. To do this, click on the Settings button on the left side of the screen and you will be brought to the general settings section.
Now click on the Protection tab at the top of the screen. You will now be shown the settings MalwareBytes will use when scanning your computer.
At this screen, please enable the Scan for rootkits setting by clicking on the toggle switch so it turns green.
- To terminate any programs that may interfere with the removal process we must first download the Rkill program. Rkill will search your computer for active malware infections and attempt to terminate them so that they wont interfere with the removal process. To do this, please download RKill to your desktop from the following link.
-
- Now that you have enabled rootkit scanning, click on the Scan button to go to the scan screen.
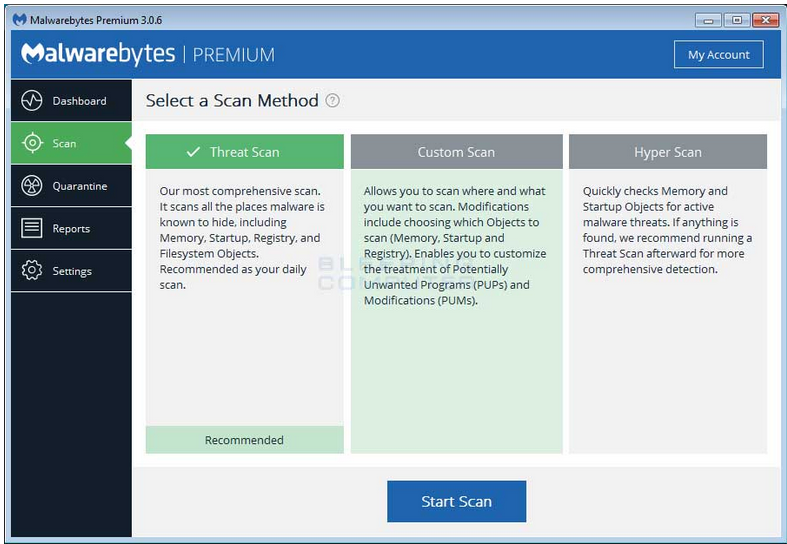 Make sure Threat Scan is selected and then click on the Start Scan button. If there is an update available for Malwarebytes it will automatically download and install it before performing the scan.
MBAM will now start scanning your computer for malware. This process can take quite a while, so we suggest you do something else and periodically check on the status of the scan to see when it is finished.
- When MBAM is finished scanning it will display a screen that displays any malware, adware, or potentially unwanted programs that it has detected.You should now click on the Remove Selected button to remove all the selected items. MBAM will now delete all of the files and registry keys and add them to the programs quarantine. When removing the files, MBAM may require a reboot in order to remove some of them. If it displays a message stating that it needs to reboot, please allow it to do so. Once your computer has rebooted, and you are logged in, please continue with the rest of the steps.
- You can now exit the MBAM program.
- Now that you have enabled rootkit scanning, click on the Scan button to go to the scan screen.
-
- At this point you should download Zemana AntiMalware, or ZAM, in order to scan your computer for any any infections, adware, or potentially unwanted programs that may be present. Please download Zemana AntiMalware from the following location and save it to your desktop:
Zemana AntiMalware

DOWNLOAD - Once downloaded, close all programs and open windows on your computer.
- Now double-click on the icon on your desktop named Zemana.AntiMalware.Setup.exe. This will start the installation of Zemana AntiMalware onto your computer.
- When the installation begins, keep following the prompts in order to continue with the installation process. Do not make any changes to default settings and when the program has finished installing, Zemana will automatically start and display the main screen.
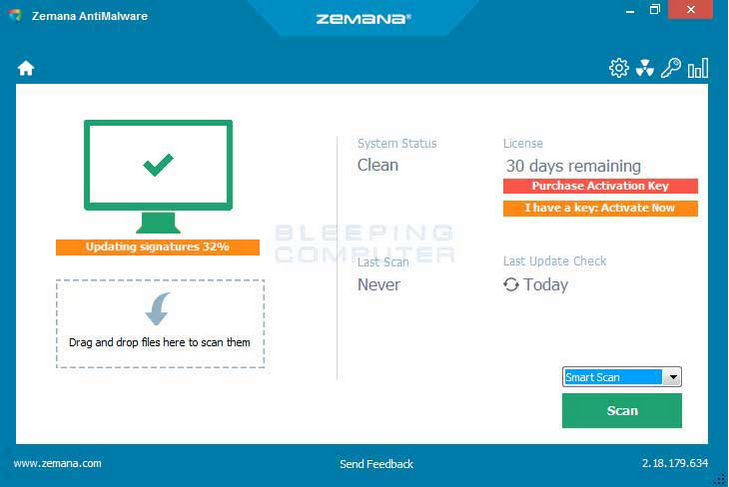
- You will now be at the main screen for Zemana AntiMalware as shown below.

Above the Scan button, please change the scan type to Deep Scan and then click on the Scan button to start the malware removal scan.
- Zemana AntiMalware will now start scanning your computer for malware, adware, and potentially unwanted programs. This process can take quite a while, so we suggest you do something else and periodically check on the status of the scan to see when it is finished.
- When Zemana has finished finished scanning it will display a screen that displays any programs that have been detected. Please note that the items found may be different than what is shown in the image below.
Review the scan results and when you are ready to continue with the cleanup process, click on the Next button to delete or repair all of the the selected results. Once you click on the Next button, Zemana will remove any unwanted files and fix any modified legitimate files. If you receive a warning that Zemana needs to close your open browsers, please close any web browsers that may be open and then click on the OK button to continue.
Zemana will now create a System Restore Point and remove the detected files and repair any files that were modified. - When the process is complete, you will be shown a screen that says Completed. At this screen, you can now close the Zemana AntiMalware screen and continue with the rest of the instructions.
- At this point you should download Zemana AntiMalware, or ZAM, in order to scan your computer for any any infections, adware, or potentially unwanted programs that may be present. Please download Zemana AntiMalware from the following location and save it to your desktop:
-
- Now please download AdwCleaner and save it to your desktop. AdwCleaner will scan your computer for adware programs that may have been installed on your computer without your knowledge. You can download AdwCleaner from the following URL:

DOWNLOAD - When AdwCleaner has finished downloading, please double-click on the AdwCleaner.exe icon that now appears on your desktop. Once you double-click on the icon the AdwCleaner program will open and you will be presented with the program’s license agreement. After you read it, click on the I agree button if you wish to continue. Otherwise, click on the I disagree button to close the program. If Windows prompts you as to whether or not you wish to run AdwCleaner, please allow it to run.
If you selected to continue, you will be presented with the start screen as shown below.
- Now click on the Scan button in AdwCleaner. The program will now start to search for known adware programs that may be installed on your computer. When it has finished it will display all of the items it has found in Results section of the screen above. Please look through the results and try to determine if the programs that are listed contain ones that you do not want installed. If you find programs that you need to keep, then uncheck the entries associated with them.
For many people, the contents of the Results section may appear confusing. Unless you see a program name that you know should not be removed,please continue with the next step. - To remove the adware programs that were detected in the previous step, please click on the Clean button on the AdwCleaner screen. AdwCleaner will now prompt you to save any open files or data as the program will need to close any open programs before it starts to clean.
Please save your work and then click on the OK button. AdwCleaner will now delete all detected adware from your computer. When it is done it will display an alert that explains what PUPs (Potentially Unwanted Programs) and Adware are. Please read through this information and then press the OK button. You will now be presented with an alert that states AdwCleaner needs to reboot your computer. - When your computer reboots and you are logged in, AdwCleaner will automatically open a log file that contains the files, registry keys, and programs that were removed from your computer.
Please review this log file and then close the Notepad Window. - For each browser that you have installed on your computer, please follow the steps to reset that browser.
- Now please download AdwCleaner and save it to your desktop. AdwCleaner will scan your computer for adware programs that may have been installed on your computer without your knowledge. You can download AdwCleaner from the following URL:
CHROME
To reset Chrome, open the program and click on the Chrome menu button in the top right-hand corner of the window. This will open the main menu for Chrome.
Click on the menu option labeled Settings , which will open the basic settings screen. Scroll down to the very bottom : Show advanced settings
Click on the Show advanced settings option to open the advanced settings screen.
Scroll to the very bottom until you see the reset button as shown in the image below.
Now click on the Reset settings button. Chrome will now open a confirmation dialog asking if you are sure you wish to reset your browser.
To reset Chrome, click on the Reset button.
Chrome will now erase all your personal data, browsing history, and disable all installed extensions. Your bookmarks, though, will remain intact and still be accessible. You can now close the Settings tab and continue with the rest of the instructions.
INTERNET EXPLORER
To reset Internet Explorer, open the program and click on the Internet Explorer menu button in the top right-hand corner of the window. This will open the main menu for Internet Explorer as shown below.
Click on the menu option labeled Internet options.
Click on the Advanced tab . This will open the Advanced Settings screen.
Click on the Reset… button. Internet Explorer will now open a confirmation dialog asking you to confirm that you wish to reset your browser.
In the reset dialog, please put a check mark in Delete personal settings and then click on the Reset button. Internet Explorer will now erase all your personal data, browsing history, and disable all add-ons and toolbars. Your favorites, though, will remain intact and still be accessible.
Once the Reset process has been completed, click on the Close button. You will now be prompted to restart Internet Explorer to complete the reset. Once you have restarted Internet Explorer, you can continue with the rest of the instructions.
FIREFOX
To reset Firefox, open the program and click on the Firefox menu
button in the top right-hand corner of the window. This will open the main menu for Firefox.
Click on the question mark button. This will open up the Firefox help menu.
Click on the Troubleshooting Information option. This will bring you to a Troubleshooting page.
To begin the refresh process click on the Refresh Firefox button. When you do this a confirmation will be shown asking if you wish to perform a Firefox refresh.
To refresh Firefox, click on the Refresh Firefox button. When the refresh process is finished you will be shown an Import window that will automatically close. When that closes, Firefox will be open and state that it has been refreshed.
You can now click on the Let’s go! button to start using Firefox again.
SAFARI
To reset Safari, open the program and click on the gear in the top right-hand corner of the window. This will open the main menu for Safari.
Click on the menu option labeled Reset Safari. This will open a window that allows you to select all the items you wish to reset.
Keep the check marks in each option and then click on the Reset button. Safari will delete all of your personal data and then open a blank page, which means the process has finished.
Tis process does not delete your Bookmarks or any installed Safari Extensions.